Showing posts with label Tutorials. Show all posts

Saturday, January 7, 2012

Glossy Star Making Video Tutorial

Making a Golssy Star on Photoshop and Illustrator

Making Folder icon on Adobe Illustrator
Click here for the RAW file

Photo Manipulation and Retouching on Photoshop


Wednesday, December 28, 2011

Glossy Transparent Typography


Guys, in this Photoshop Tutorial, you’ll able find the most easiest way to make a beautiful and glossy text effect. Good luck and don’t forget to leave a comment on this tutorial.

Tutorial skill : Advance
Software : Adobe Photoshop CS5 (recommended)

What you will need in this Tutorial (direct link provided) :
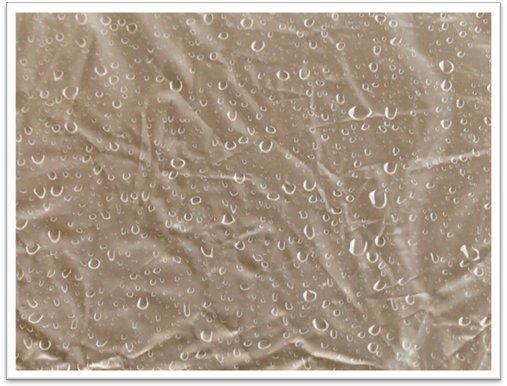
  1. Water Drop Texture (Image 2)
  2. Paper Texture
  3.        Arial font (no need to worry about this, it gets pre-installed with Windows)
New File size : 1024 X 768 pixel
Resolution : 300 dpi
Color mode : RGB

Now, download the required textures that I’ve mentioned above.

Place it on the New File (both textures should be placed in individual layer, and Paper Texture layer should above the Water Drop texture layer)  and resize it with the document size (i.e. 1024 X 768).

Now, duplicate the Paper Texture layer and change the Blending mode to Exclusion (Paper Texture’s original layer) and Divide (Paper Texture’s duplicate layer)

Output


Now, make a new layer (name it as Spot Light) and fill it with white color. 
Interesting section of the tutorial, making the Spot Light look effect on the background.

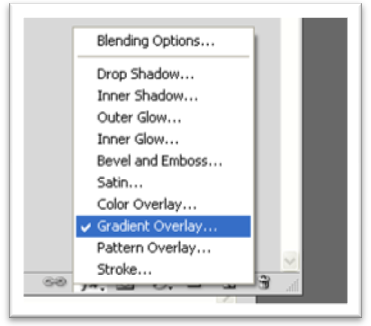
Go to Spot Light layer, and than apply the Gradient Overlay style on it.

Gradient Overlay
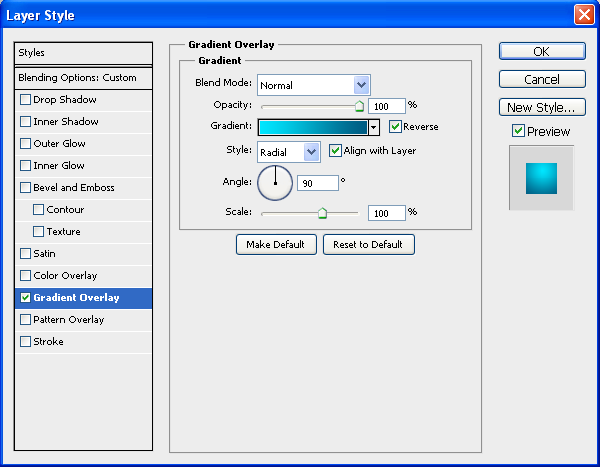
Gradient Overlay style setting : 

Gradient Overlay syle setting
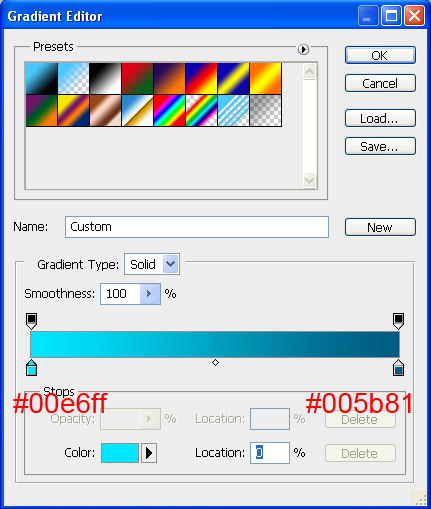
Gradient Editor
Output
Now, convert the layer in to Smart Object and change the Blending mode to Multiply

Monday, December 26, 2011

Making a Star


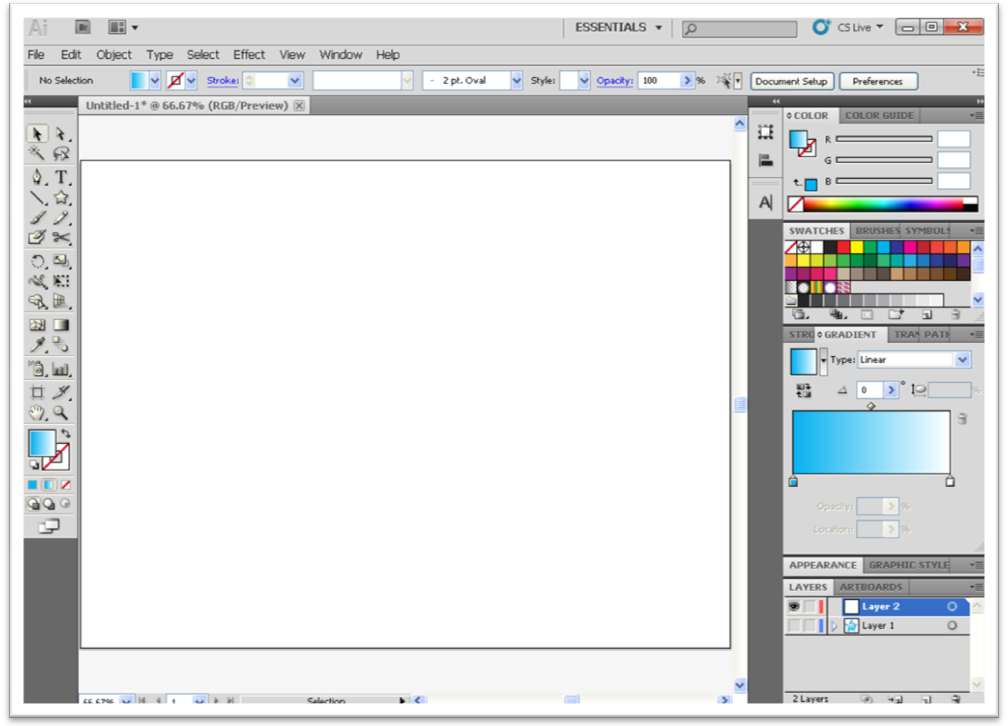
Open Adobe Illustrator CS5 (recommended)
Make a New File with the Resolution of  1024X768 (or as your choice)
Color model RGB with 300 ppi (i.e. High Raster Effect)


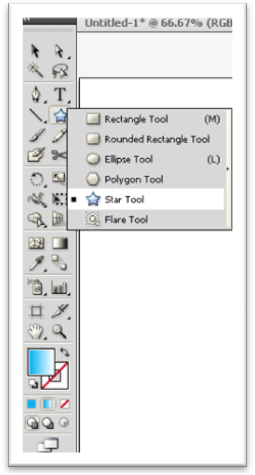
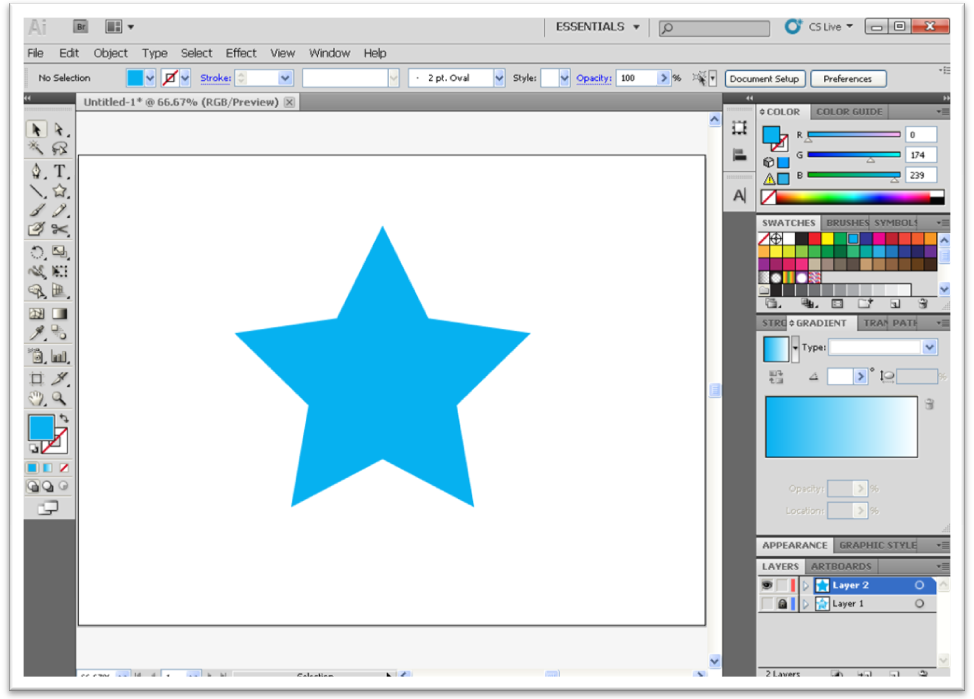
Now select the Star Tool and draw a Star on the Blank Page


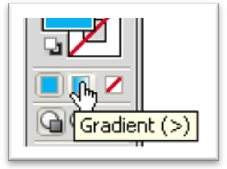
Next, go to Tools Panel and select Gradient to give the Star a Linear Gradient


After giving the Gradient (you can choose your own color)
Copy the star (Ctrl+C) and Paste it Front (Ctrl+F)
Now the important part of the Tutorial

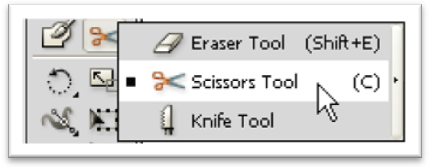
Select Scissors Tool and go to the Star that you’ve created a moment ago and Cut the Anchor Points shown in image below

Cut on  here  
     
After Cutting all the Points indicated on the image above, it will look like this


Now, we have total six Layers. Select above Five layers (that had created after cutting

Comment