Open Adobe Illustrator CS5 (recommended)
Make a New File with the Resolution of 1024X768 (or as your choice)
Color model RGB with 300 ppi (i.e. High Raster Effect)

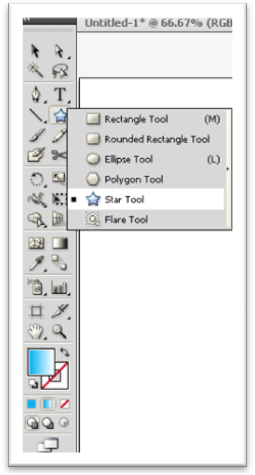
Now select the Star Tool
and draw a Star on the Blank Page
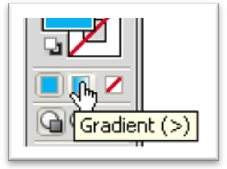
Next, go to Tools Panel and select
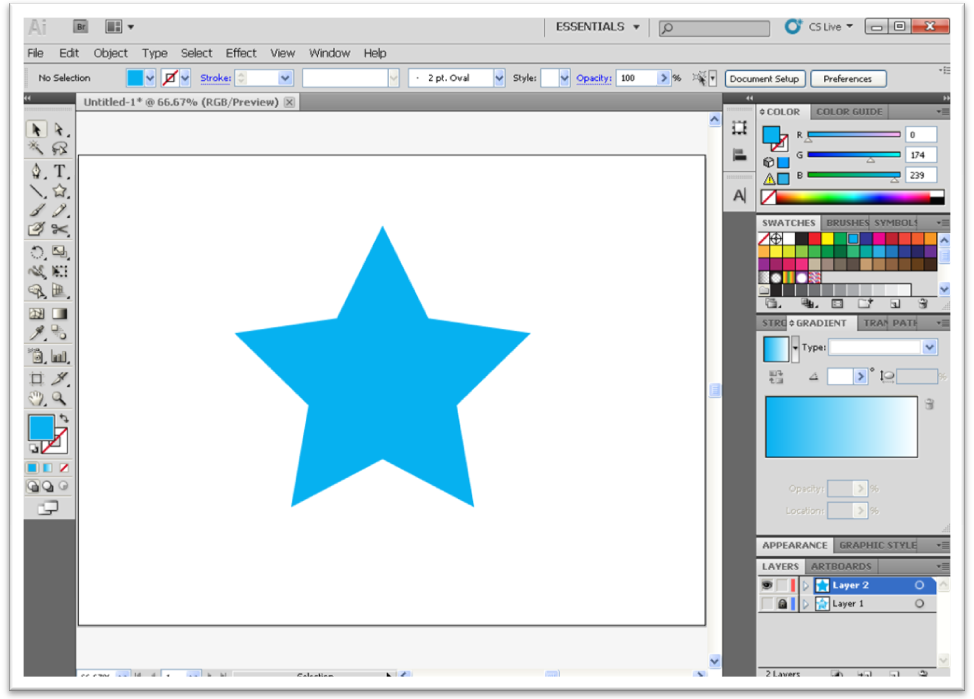
Gradient to give the Star a Linear Gradient
 |
| After giving the Gradient (you can choose your own color) |
Now the important part of the Tutorial
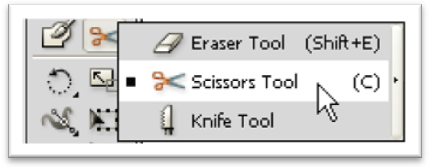
Select Scissors Tool
and go to the Star that you’ve created a moment ago and Cut the Anchor Points
shown in image below
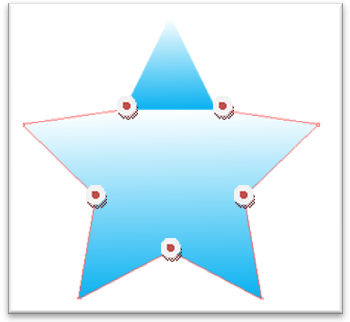
Cut on  here
here
here 
Now, we have total six Layers. Select above Five
layers (that had created after cutting
the anchor points of the Star) and Group them
the anchor points of the Star) and Group them

Now, go to Effect > Stylize > Drop Shadow
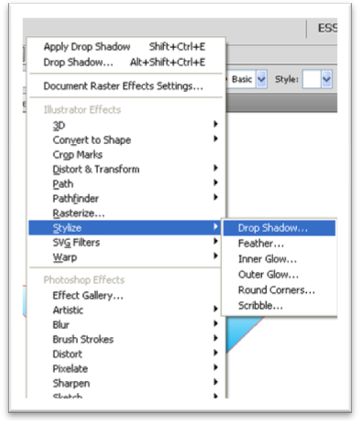
And make the Drop Shadow setting like this

After applying the Drop Shadow it will look like this

DONE!!! :)